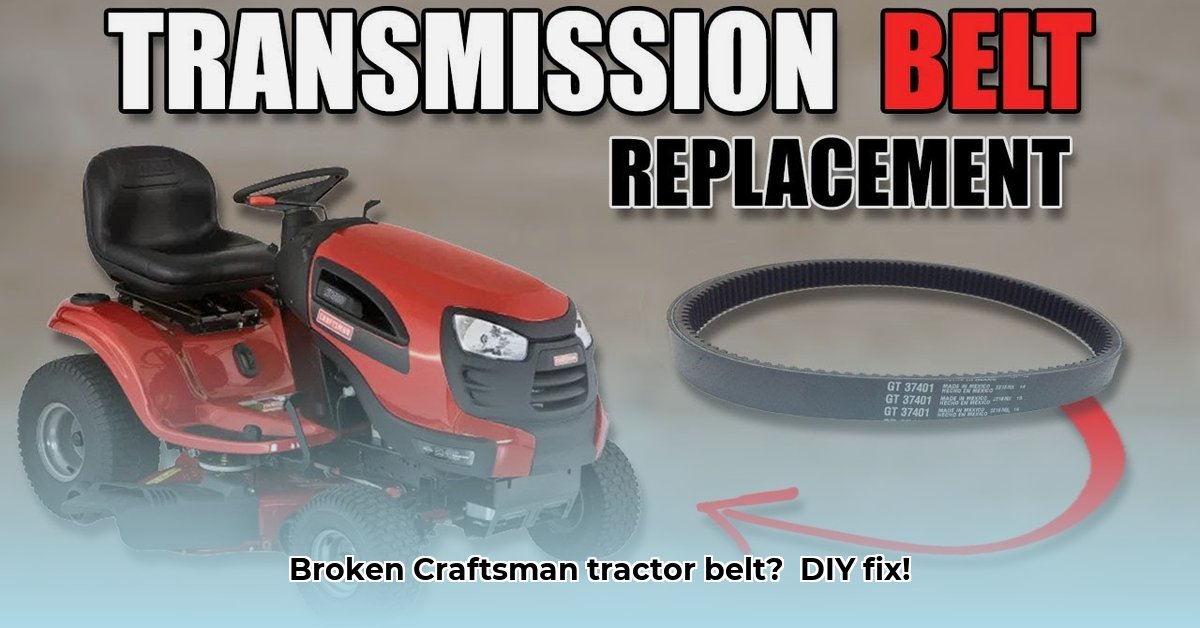
Got a Craftsman tractor refusing to cooperate? A worn drive belt is a common culprit, but fixing it yourself is easier than you think! This guide provides a step-by-step process, complete with helpful images (not included here, but essential for a published version) to get your tractor mowing again. Even complete beginners can tackle this repair. For more detailed visuals, check out this helpful guide.
Getting Ready: Tools and Parts You'll Need
Before starting, gather these essential items:
- New Drive Belt: Find the exact replacement belt for your Craftsman model. The old belt should have a part number; use this for ordering.
- Socket Wrench Set: You’ll likely need various sizes.
- Screwdrivers: Both Phillips and flathead.
- Pliers: For extra grip if needed.
- Safety Glasses: Protect your eyes – this is non-negotiable.
- Work Gloves: To protect your hands.
- Well-Lit Workspace: Good lighting makes a huge difference.
- Owner's Manual: Your essential guide for model-specific instructions.
Replacing the Drive Belt: A Step-by-Step Guide
Let's get this done! Remember, safety is paramount.
Safety First: Disconnect the spark plug wire before doing anything else. This prevents accidental starting and potential injury. Doing this simple step can prevent serious accidents.
Locate the Drive Belt: Consult your owner's manual for diagrams showing your tractor's belt system. You might need to remove protective covers; this often involves loosening a few bolts.
Release Belt Tension: Most Craftsman tractors have an idler pulley with an adjustment bolt (see your manual). Loosen this bolt to release tension on the belt. Without this step, removing the belt will be difficult and frustrating.
Remove the Old Belt: Carefully guide the old belt off the pulleys. Take your time; it may be stiff. Inspect the old belt for cracks or damage – this helps diagnose potential issues.
Install the New Belt: Carefully place the new belt onto the pulleys, following the exact path of the old one (refer to your manual's diagrams). Ensure the belt is correctly seated on all pulleys. Incorrect routing is a common cause of belt failure.
Re-tension and Reassemble: Tighten the idler pulley bolt to re-tension the belt. It should have slight give when you press on it; neither too loose nor overly tight. Reassemble any covers you removed.
Final Check: Reconnect the spark plug wire. Start the tractor and check the belt’s operation. Is it tracking correctly and smoothly on all pulleys? Is there any unusual noise?
Troubleshooting: Common Problems and Solutions
Even with careful work, issues can arise.
Belt Slipping: Usually indicates loose tension. Re-check and adjust. A worn belt will also slip; replace it if needed and ensure you have the correct replacement part.
Belt Breakage: A new belt breaking suggests a more serious problem. Inspect pulleys and other components for damage or misalignment.
Access Difficulty: If you can’t reach the belt, consult your manual or consider professional help. Don't force anything; this can cause more damage.
Preventative Maintenance: Keeping Your Tractor Running Smoothly
Regular maintenance greatly extends your tractor’s lifespan. This belt replacement is a great opportunity for other checks: lubricate moving parts, sharpen blades, and address any other maintenance needs specified in your owner’s manual. Preventative maintenance saves time and money in the long run. It’s a small investment that provides large returns.
Remember: This guide offers general instructions. Always defer to your owner’s manual for your specific model’s details and safety precautions. Safety is paramount – never compromise on it! A little preventative maintenance goes a long way.